Are you collecting too many of your child's artwork? In a short period of time you might find your home overloaded with drawigns, paintings, crafts and all the art your child is bringing from the kindergarden and the art created at home. So, what should we do with all of them?
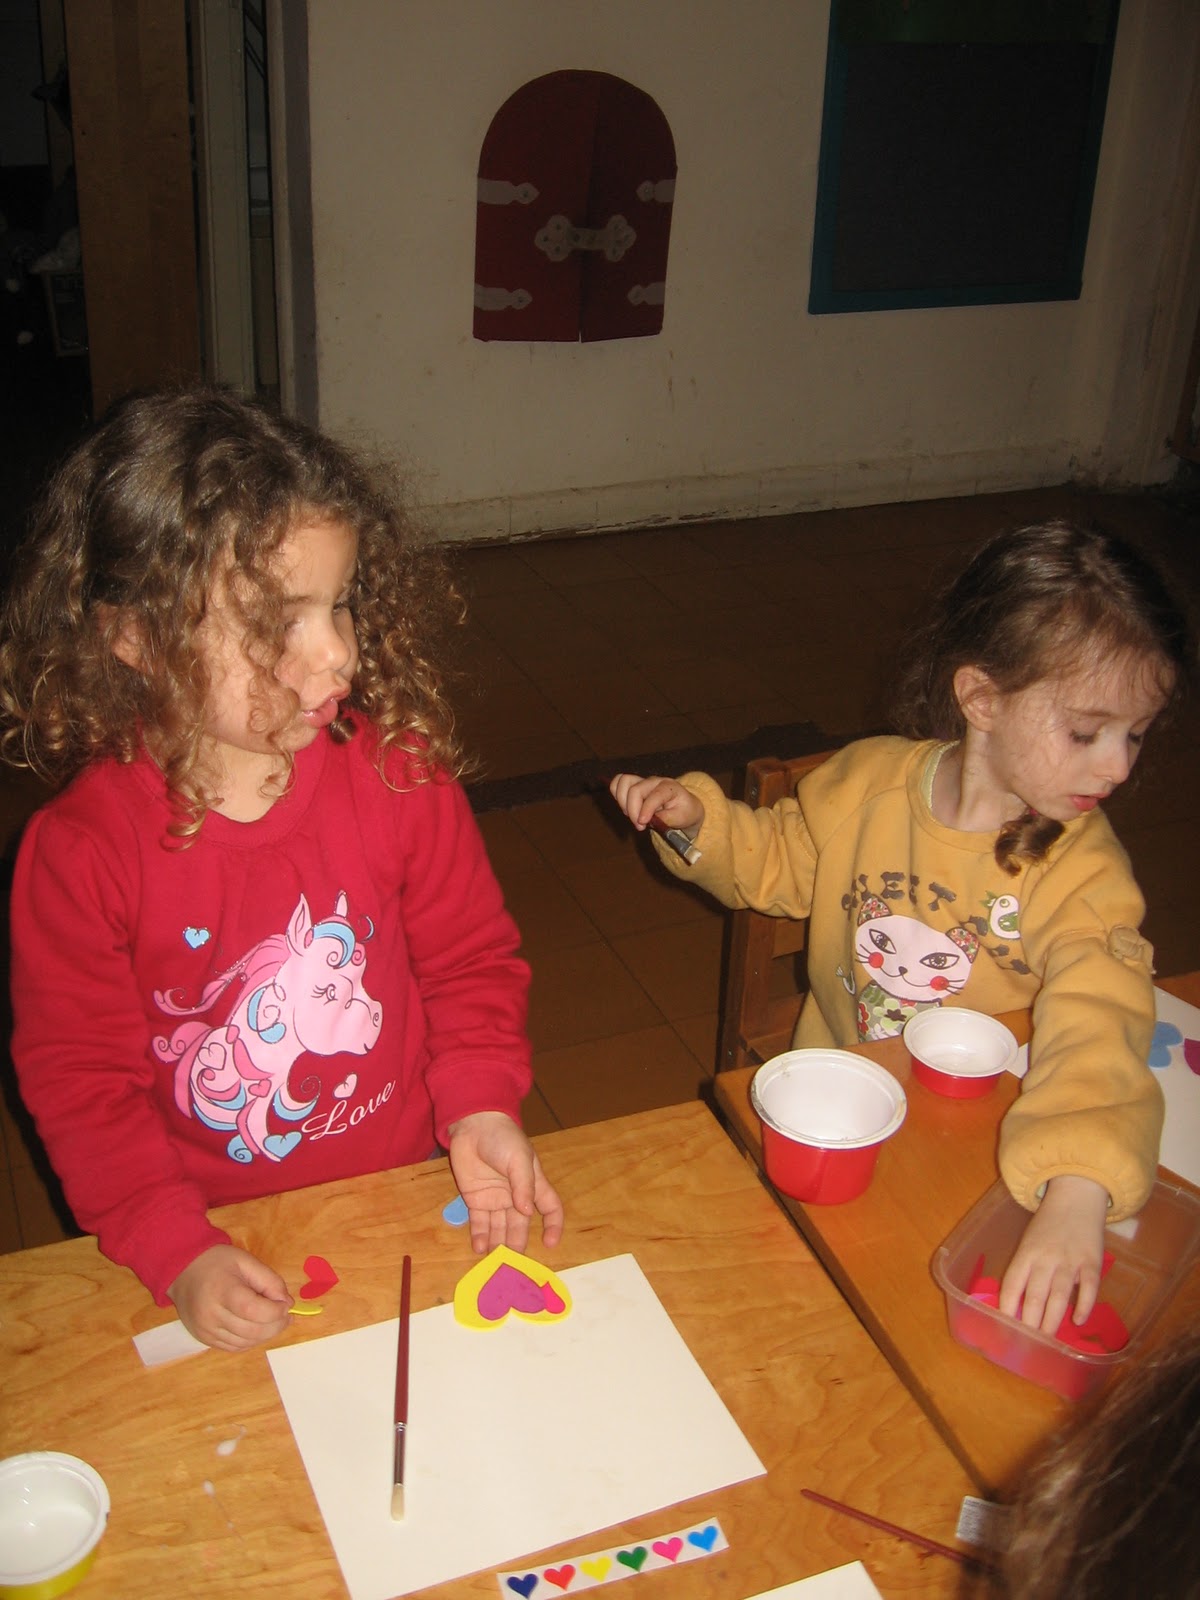
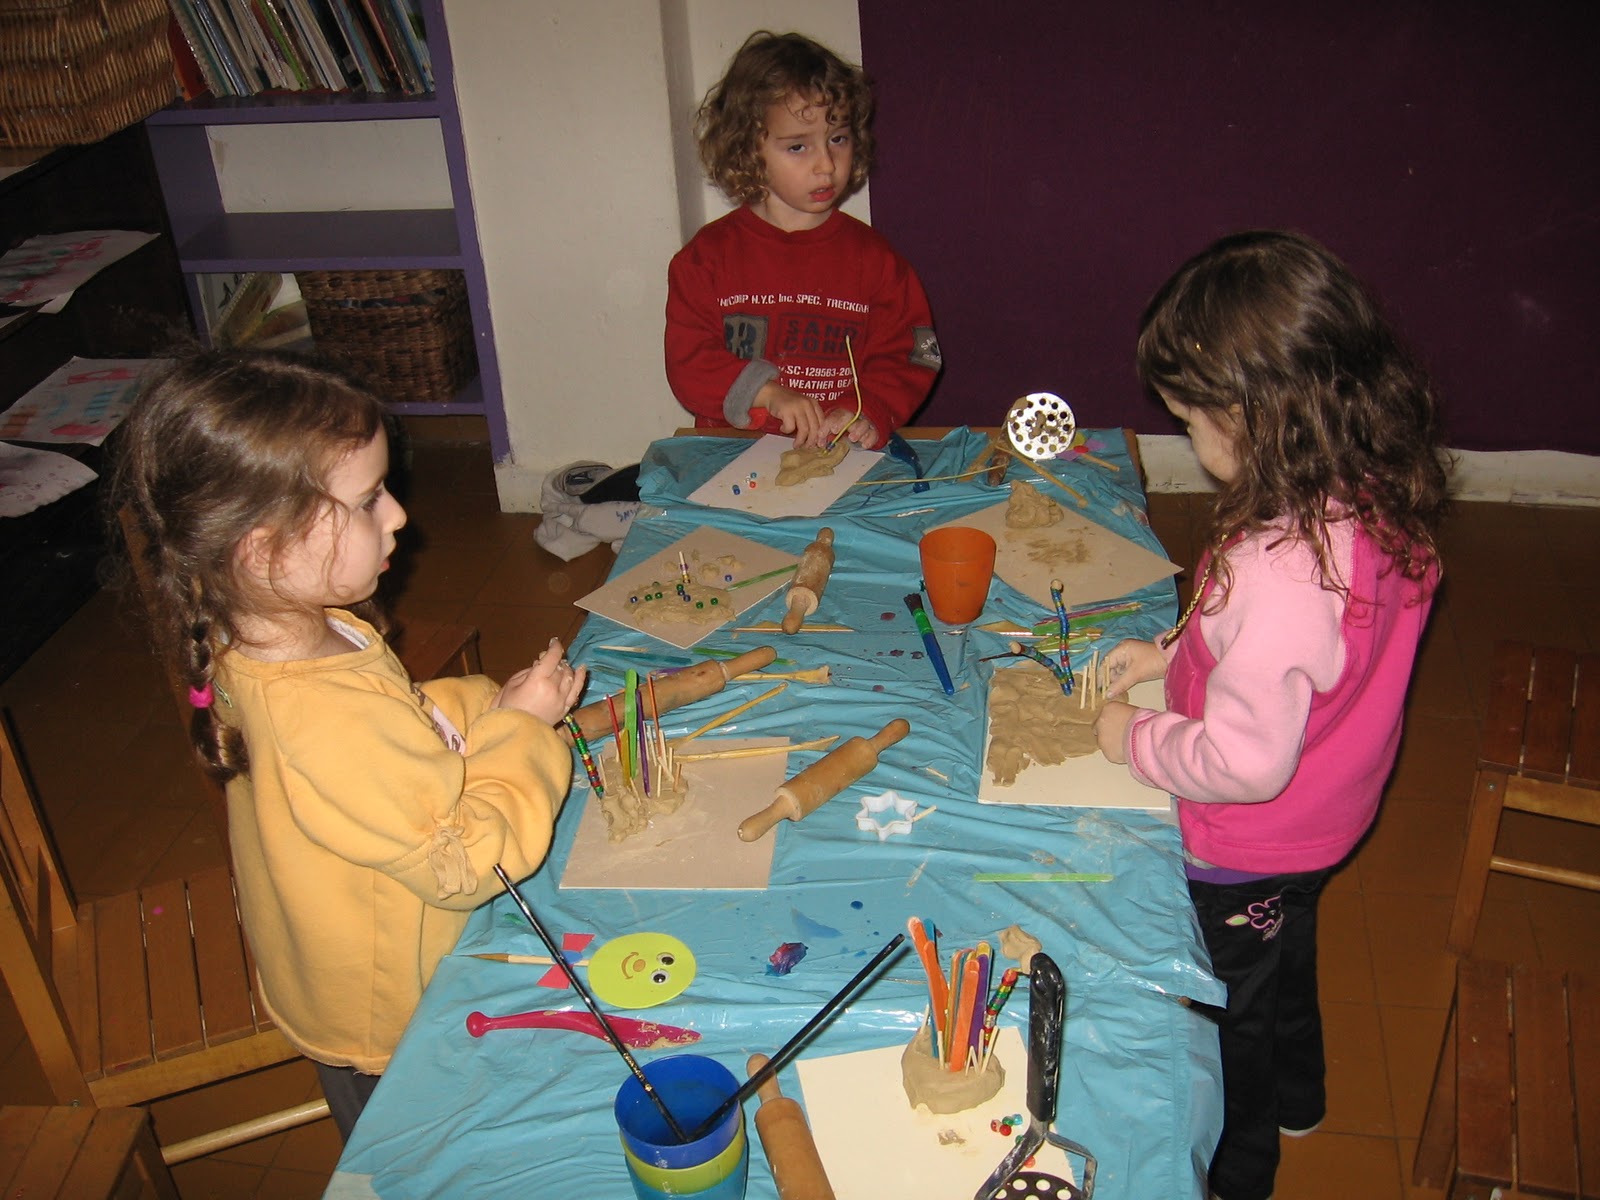
Explain to your child that you can't keep them all and choose with them which one's to keep. Remember that what is pretty in your opinion might not be relevant to your kid, so let them make the decisions. That's also a good moment to let them talk about their art if they want to. (More about conversations with kids about their art in a next Tip!)
Make a "portfolio" with the chosen artworks and choose a few projects for displaying and maybe hanging in a simple frame to decorate the child's room.
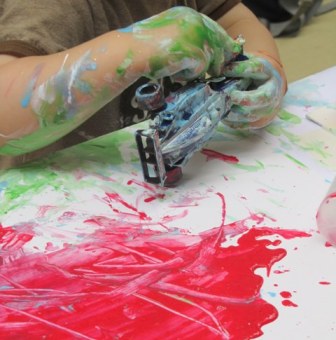
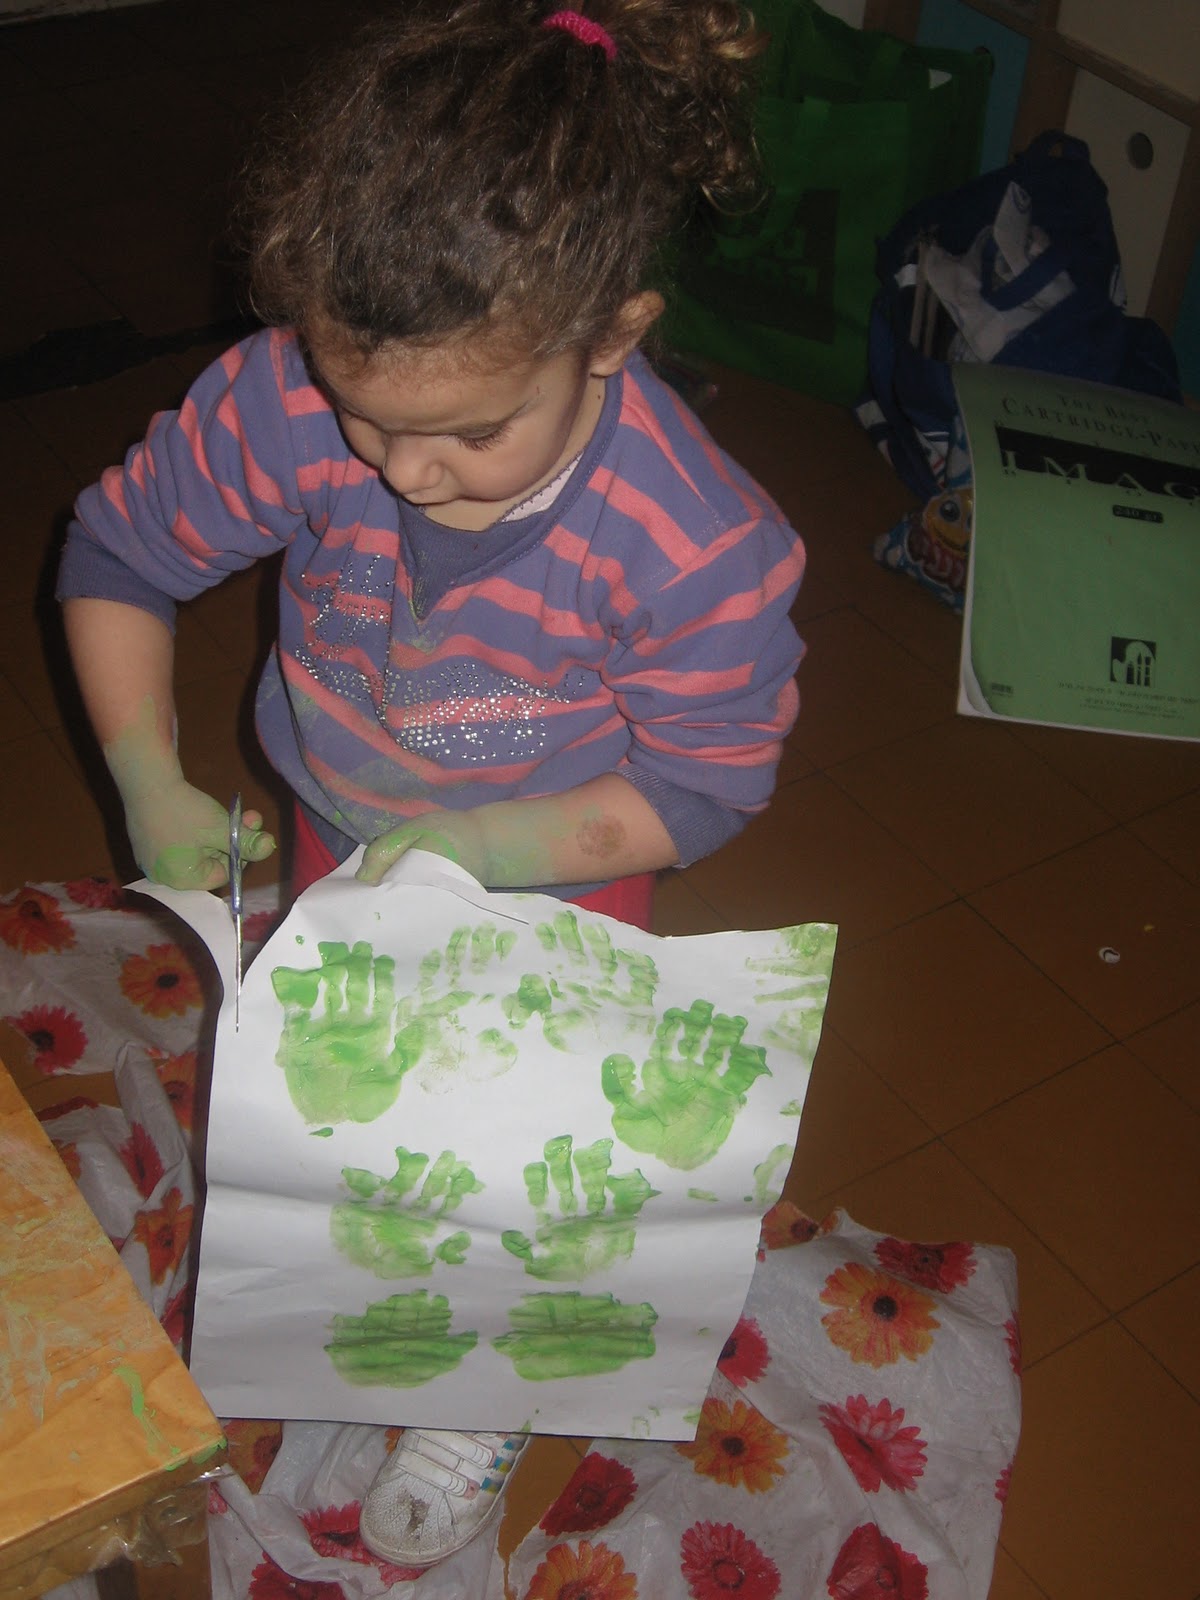
If the kid wants to keep too many projects and you have to clean out more, please don't let your child find their art thrown in the garbage (it's not an encouraging statement...). Don't feel guilty, though, about throwing them away, since most of the time the process of creating was more important to the child than the final project.